Showing posts with label Ethels Home. Show all posts

Wednesday, October 31, 2012

Happy Halloween!

One of my favorite Halloweens...2004!
Best costume I ever made for my son.....The Headless Horseman.
Even his sister was a little apprehensive about standing next to him!!
Secret was the black hood mask he was wearing underneath that allowed him to see out.
This year with Hurricane Sandy our Trick or Treat will be wet, my son won't even be dressing up and my daughter is a Zombie.  My how it all changes in 8 years!

Happy Halloween Everyone!

P.S.  Our thoughts and prayers go out to everyone who has been affected by Hurricane Sandy.  The devastation on the east coast is unimaginable.  Mabel & Ethel are praying for everyone.

Wednesday, September 19, 2012

A Trip to the Container Store

While in Columbus for the Country Living Fair Mabel and I also stopped at The Container Store.  Oh if only we had an unlimited supply of money I can see how one would be able to get themselves organized.

My big purchase however was the clear over the door shoe rack I had been looking for.  I am running out of storage in my sewing studio so I have to start getting creative.  So instead of using the over the door hooks for the organizer, I used Velcro Command Strips.  I hope the ones I got will hold everything, Mabel wanted me to go to the bigger size, but being anal like I am I liked that the small ones fit on the header of the holder better.

So here it is behind the door.
 And here it is with me starting to fill it up with goodies.  So far so good.  I have four Command Strips on the top and I put three regular adhesive velcro squares on the bottom to keep it from flapping.  Hopefully I won't hear it come crashing down some night.
So now I must get busy searching my studio for more items I can store behind the door.  Oh and the wooden curtain rod is leaning back there because I have yet to sew the curtains for the room.  Right now the yardage of fabric I bought for the curtains is hanging at the window by clothes pins.  Doesn't look that bad so I haven't started that project yet.  But when I do get them done I'll let you know.

Thursday, July 19, 2012

I Should Have Known

Well I should have known that hot gluing the wheels on the bottom of my magazine box wouldn't work.  The minute I put some magazines in it, one of the wheels popped off.  Then it started tearing up the wood on the bottom, so after repeatedly gluing it on thinking it might work if I try again, I had to come up with another plan.
So I mod podged some fabric on the bottom to cover up the broken wood. 
Purchased some brass screws like I should have in the beginning when I bought the wheels.  You would have thought the wheels would have come with screws!  I had to put a little piece of cardboard under them to make the screws not pop thru to the inside of the box.

And now finally my box is sturdy enough to hold my quilting magazines and books.  And as you can see it now holds Otis the Cat too!  He just loves getting into where he doesn't belong!
All I can say is at least the wheels didn't pop off!
It passed the Otis test!

Thursday, July 12, 2012

A New Quilted Lined Magazine/Book Holder

At one of our auctions last month I got this odd little wooden box full of junk.  I didn't really want the junk that was inside of it, just the wooden box.  The more I looked at it I think it used to be a drawer because there are holes where handles must have been.
I couldn't understand why the inside of the box was so sticky, but then I saw that the bottom was covered in contact paper.  
So at one time the inside must have been too.
Easiest solution for that....mod podge.  I dug out some old fabric scraps I had and started gluing them on.
I learned the hard way that I made my fabric squares too small so that I would require lots and lots of them.  Two inch squares that I used pinking shears to cut.  Even though it took a little longer than I had hoped,
 I do like the finished look.
I applied two nice top layers of mod podge and then sanded it smooth after it was completely dry.  I then sprayed it with a Krylon Clear Coat.  I wanted it to easily move so I put wheels on the bottom of it.  There must have been something on the bottom before because you can see where the holes were.


The wood bottom was kinda thin, so I just hot glued the wheels on.  I'm hoping that they will hold.  I guess I'll let you know if they don't.  Finally I added a little trim to the upper ridge with glue.

Now I have a cute box to hold my quilting books and magazines.  Obviously when I get it completely filled up you won't get to see how the cute the mod podge fabric inside is, but I'll know it's there.  That's all that matters.  
A beautiful quilted lining to house my precious books and magazines.....Perfect!

Friday, June 29, 2012

I Own An Outhouse!

Well at least it looks kind of like an outhouse.  
For $25.00 I couldn't pass it up and I'm having so much fun making a place for it in my yard. 
 I'm going to use it as a garden/tool shed.

Here it is fresh from the auction.  We put it outside by our raised bed garden we started this year.  So much character to it.  Inside I even found a few dates written in it, 1948, 1952, 1958.  I will be adding 2012 to it to make my mark on it for the future to find. 
Here are pictures of the progress so far.  I've moved it away from the pine a little bit.  Added a hook for a hanging flower pot and put an old horseshoe on it for luck.  
There was already a shelf inside so I'm slowly starting to add my garden items in it. 
Mabel suggested I move my old washtub out by it and I must agree it looks perfect.  Eventurally we would like to put a large garden shed up so I envision connecting the two with a cute picket fence and lots of perennials.  
So far I've added two lavender plants and moved a hosta for now. 
 It is weathered with at least 4-5 different colors of paint.  Everyone keeps asking me if I am going to paint it, but I love it just the way it is.


Here is another close-up of our garden.  I know things are a little close together, but I let my 11 year old call the shots on what we planted, so it's a learning curve this year.  But our spinach isn't doing very well, so if anyone has any suggestions as to what we can do to help our spinach we'd appreciate it.
 I just love my washtub, makes me smile.
 Going to add a pea gravel path and hopefully will pick up a few more items at auction that will look perfect next to it. 
 Perhaps a wheelbarrow or an old wagon wheel.  Some old tubs or a water pump. 
 I'm sure whatever I get will make my husband roll his eyes.  
That's exactly what he did when he saw the outhouse. 
 Lucky for me he is so comfortable in his new recliner he could care less what I'm doing,
 in what I now refer to as the back 40 of our yard!

Wednesday, June 27, 2012

Loving Our New Family Room Furniture!

Well as Mabel said last week we got a deal on some furniture for my family room at an auction and are we enjoying it.  
Each one of us now has our own recliner and it looks like it was made for our family room. 

Here you can see our old furniture which was nice and all, but the fabric didn't hold up very well and we all fought over who would get to use the ottoman.
Now here's a picture with the new furniture. 
 So much more comfortable and I like the darker color.

Now we are all comfortable and no more fighting.  Sofa, loveseat (that both seats individually rock) and a rocking recliner chair.  Five recliners in all, yes I suppose you could say we like to lounge in my family!  All in really good clean condition, practically new looking.  Best auction score to date and thanks to Craigslist my old furniture has already gone to a new home.  
Life is good!
P.S.  I'll have to take a closer picture, but I also got the two leaded glass floor lamps next to the loveseat and chair at the auction.  Perfect for doing needlework and hand sewing while watching TV.  Now Mabel and I can rock and sew together side by side!

Wednesday, February 8, 2012

Tea Cart Updated with Blue & White

I have had this tea cart for as long as I can remember.  It belonged to my great grandmother.  I refinished it years ago and did get new glass cut for the top of it, but other than that I didn't think there was much more I could do to it.
Occasionally I would change what I displayed on top, but almost always it housed our small amount of liquor bottles on the bottom.  Then the other day I had the brainstorm of putting some fabric underneath the glass tops.  Why hadn't I thought of that before?  Sometimes the obvious just never appears, but once I got this notion I was hot to trot.  So off to Joann Fabrics I went and I was lucky enough to find this beautiful blue and white fabric.  My entire dining room is a dark blue and white.  I pulled up the glass and traced the sizes needed.  After they were cut to size I cleaned the glass really good and replaced them on top.  I couldn't get over the difference.
The entire tea cart had a new personality.  I loved it with the wall and woodwork.  After I saw how nice it looked I took the eucalyptus I had in a vase on top and spray painted that white as well.  Totally brightened it up.  Put a wine rack I had on top and couldn't believe how just a little fabric and spray paint could make me like something I have had forever that much more again.

Here's a close-up of the new tops. 
And the completed final look.  I love it!
Participating in:
Check out the Party!

Monday, February 6, 2012

Vintage Child's Ironing Board Bulletin Board

For some reason lately at the auctions I have been attracted to the old children's ironing boards.  This one I am about to show you is only my second one I've purchased, but for $2.00 she was a gem.  I didn't know what I was going to do with until Mabel and I came up with the great idea to make it into a bulletin board for my sewing room.
Look at how cute it is.  And what made it perfect for my sewing room was the color of the legs were already a beautiful old red.  The top was padded and covered with a muslin hand stitch laced to it.  Since the only place I had to hang it in my sewing room was a white door I felt I should cover it to make it pop.
I had the perfect red fabric that I had just bought for my yoyo quilt and then I realized I had a couple of cork squares that would work for on top of the ironing board.  Even though I'm sure I could have just pinned into all the fabric that was on top of the ironing board, I didn't want to ruin it.  So I cut the cork to fit the ironing board and just laid it on top of the existing muslin.  I didn't glue it or anything, the fabric I was covering it with would hold it in place.

Then using my staple gun I just covered it with the fabric like you would a chair.  I had purchased 1/2 yard and that was the exact size needed for the ironing board.  Everything was just meant to be.  At first I didn't want to staple into it trying to preserve the old ironing board, but I then I realized it should matter since I was making it for me to enjoy for many years to come.  I do like how you can see the lacing holding the muslin on still on the bottom.
The finished project.  Quick and easy and totally adorable. 

Then I new I needed some cute thumbtacks to use on it.  I had made some yoyo's for my quilt that weren't exactly the right red color I was going for.  It's a cute vintage retro "livestock" print.  I got out my jar of buttons and some big headed thumbtacks and got started.
I hot glued the thumbtacks to the back of the yoyos.  I then hot glued buttons to the front of them in reds and whites.  If I had to do it over again I would have sewed the buttons on first to keep the fabric kind of hooked together before gluing on the thumbtacks.  But they still work fine for me and look so cute on the ironing board.

Look how adorable it looks hanging on the skinny closet door in my sewing room.  The fabric and the red legs of the ironing board are perfect and I love the way the yoyo's look on it.  Now I can pin anything I need to have handy on my cute vintage child's ironing board bulletin board. 

I'll have to show you my other little child's ironing board when I get a chance.  Mabel loves it because it has an iron burn mark on the wood on top from a small size child's iron!!  Maybe I'll just hang it next to this one on the wall because it is much smaller.  I'll keep you posted.

Wednesday, December 21, 2011

A Christmas Tree Full of Memories

Was looking at my Christmas Tree today and realized that there are a lot of wonderful memories hanging on the branches and each one seems like only yesterday.  My Christmas Tree doesn't have a theme, it is just an eclectic mix of ornaments ranging from ones I spent probably too much for to those that are handmade and priceless.
As you can see our Christmas Tree fits just nicely into our bay window and I love the traditional colored Christmas lights.  And it looks like Santa has already been busy putting gifts under the tree.  I hope some are for me!!  One of my favorite ornaments I made in the hospital with my mother when I was twelve and had broken my leg.  He's a pine cone Santa that always takes center stage on the tree.  His face was made with an old nylon and we used my mother's lipstick to color his nose red.

I have already told my daughter she could have him since she too broke her leg a few years ago.  Until she is old enough to leave home and have a tree of her own he will still get to hang around for me to enjoy.

Another one of my favorite ornaments is from the town my mother and I visit often to enjoy their Nights Before Christmas Tour of Homes.  It's Madison Indiana, and we were lucky enough to go again this year.


Each year we visit I put
the date on the ornament
to remember.  Some day I hope to move there.


I've collected a lot of ornaments from places we have visited, they make great keepsakes and you get to remember those trips every year when you pull the ornaments out to hang on the tree.


I have to laugh, the ornament with the wine cork on top of it to the right was made by my mother to commemorate the wine we drank at the Thomas Family Winery on one of our trips to Madison, Indiana.
Next to it is this years newest homemade ornament, 
a pine cone angel. My daughter and I each made one at our local city greenhouse's holiday open house.

Every family member has ornaments on the tree, even our pets!
And I try to make sure I put a date on each ornament if it doesn't come with it already on it.

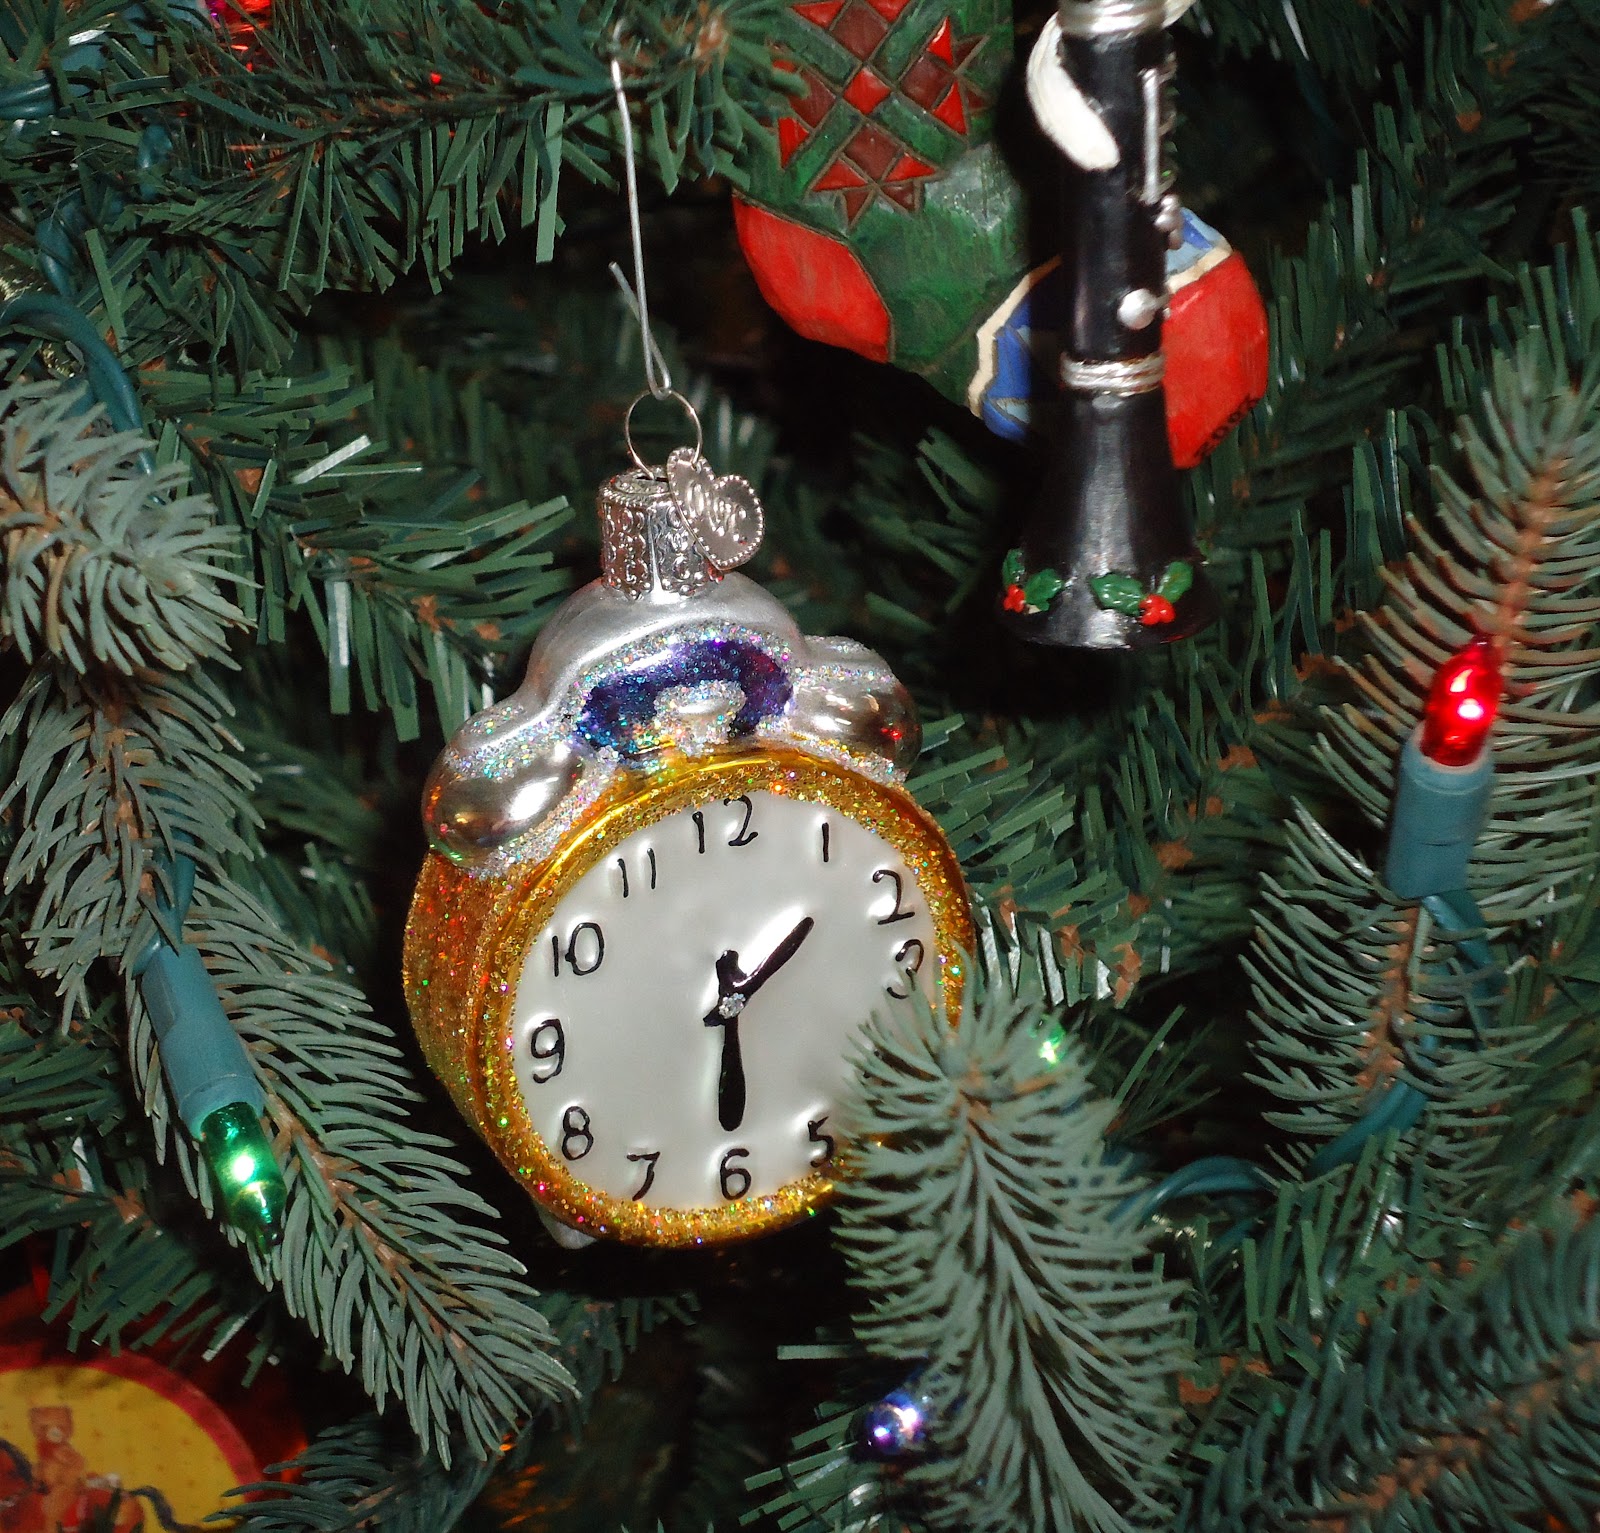
My Son Loves Clocks!
A Ukrainian Egg. Just Love It!
Do you see the Christmas Spider?
I used to do quilling years ago and made many of these wreath ornaments.

Mod Podged this American Girl Ornament for my daughter when she got Samantha a few years ago.
Santa Mouse carrying his packages up the ladder on the side of the tree.
Made by...you guessed it my mother.  Joy to everyone and Merry Christmas.
I hope you enjoyed this glimpsed at my Christmas Tree.   I just love sitting and looking at it, what wonderful memories it holds.  I look forward to putting it up every year.
Merry Christmas and God Bless Us Everyone!